


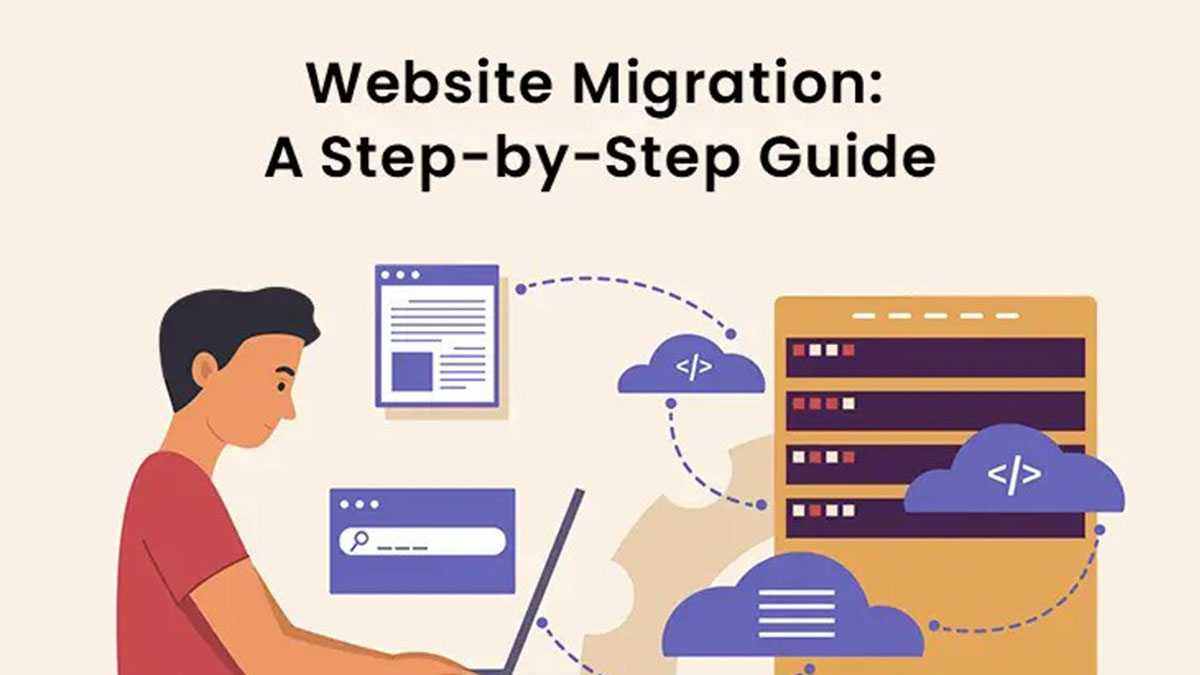
Introduction
Slow hosting kills conversions—53% of visitors abandon sites that take longer than 3 seconds to load (Google, 2023). Migrating to a faster hosting platform can boost your site speed by 2-5X, improving SEO rankings and user experience. Here’s how to do it without downtime or data loss.
Step 1: Choose Your New Hosting Provider
Compare these key metrics:
✅ Speed: Look for NVMe SSD storage, LiteSpeed servers, and HTTP/3 support.
✅ Uptime: Minimum 99.9% SLA (e.g., Kinsta, Cloudways).
✅ Location: Pick data centers closest to your audience (use Pingdom to test).
✅ Scalability: Cloud/VPS options for traffic spikes.
Top 2025 Fast Hosts:
- Kinsta (Google Cloud C2 servers)
- Cloudways (DigitalOcean/AWS optimized stacks)
- A2 Hosting (Turbo Servers with 20X faster speeds)
Step 2: Back Up Your Website
Critical files to back up:
- Database (MySQL/PostgreSQL via phpMyAdmin or SSH)
- Website files (FTP/SFTP or cPanel File Manager)
- Emails (IMAP/POP3 exports)
- SSL certificates (Download .key and .crt files)
Tools to automate backups:
- UpdraftPlus (WordPress)
- cPanel Backup Wizard
- AWS S3 CLI (For large sites)
Step 3: Set Up the New Hosting Environment
- Create matching software stacks:
- PHP version (8.2+ recommended)
- Database (MySQL 8.0+)
- Extensions (OPcache, Redis)
- Pre-configure security:
- Firewalls (Cloudflare WAF)
- Auto-renewing SSL (Let’s Encrypt)
Pro Tip: Use staging environments (most hosts like SiteGround/Kinsta offer this) to test configurations.
Step 4: Migrate Your Website
A. For Small Sites (Manual Transfer)
- Upload files via SFTP/rsync.
- Import database using phpMyAdmin.
- Update
wp-config.php(WordPress) or.env(Laravel) with new DB credentials.
B. For Large Sites (Automated Tools)
- WordPress: All-in-One WP Migration, Duplicator Pro
- Other CMS: Host-provided migrators (e.g., SiteGround Migrator)
- Enterprise: AWS Database Migration Service (DMS)
Step 5: Test Before Going Live
Checklist:
- Functionality: Forms, checkout flows, APIs
- Speed: Compare GTmetrix scores (Aim for ≥90%)
- Broken Links: Use Screaming Frog
- SSL: Test at SSL Labs
DNS Trick: Temporarily point your local machine to the new host by editing the hosts file to test without affecting visitors.
Step 6: Update DNS & Go Live
- Lower TTL to 300 seconds (5 mins) 24 hours pre-migration.
- Update A records and MX records in your DNS panel.
- Monitor propagation with DNS Checker.
Zero Downtime Strategy:
- Use Cloudflare to proxy traffic during cutover.
- Enable “DNS Only” mode until full propagation.
Step 7: Post-Migration Optimization
- Cache Warmup: Pre-load pages using Cloudflare Cache Warmer.
- CDN Setup: Configure Cloudflare/BunnyCDN for static assets.
- Monitor: Track errors via New Relic or Datadog.
Common Migration Pitfalls & Fixes
🚨 404 Errors: Update permalinks (WordPress) or .htaccess rules.
🚨 Email Downtime: Verify MX records and SMTP settings.
🚨 Mixed Content: Force HTTPS via .htaccess:
apache
Copy
RewriteEngine On
RewriteCond %{HTTPS} off
RewriteRule ^(.*)$ https://%{HTTP_HOST}%{REQUEST_URI} [L,R=301]
Case Study: 3X Faster Load Times
- Before: Shared hosting (1.8s load time, 70% bounce rate).
- After: Migrated to Kinsta + Cloudflare CDN (0.6s load time, 35% bounce rate).
- Tool Used: SiteGround Migrator (Zero downtime).
Final Checklist
✅ Backed up files + database
✅ Tested staging environment
✅ Updated DNS TTL in advance
✅ Verified SSL/HTTPS
✅ Monitored post-migration performance
Leave feedback about this